2D Animate
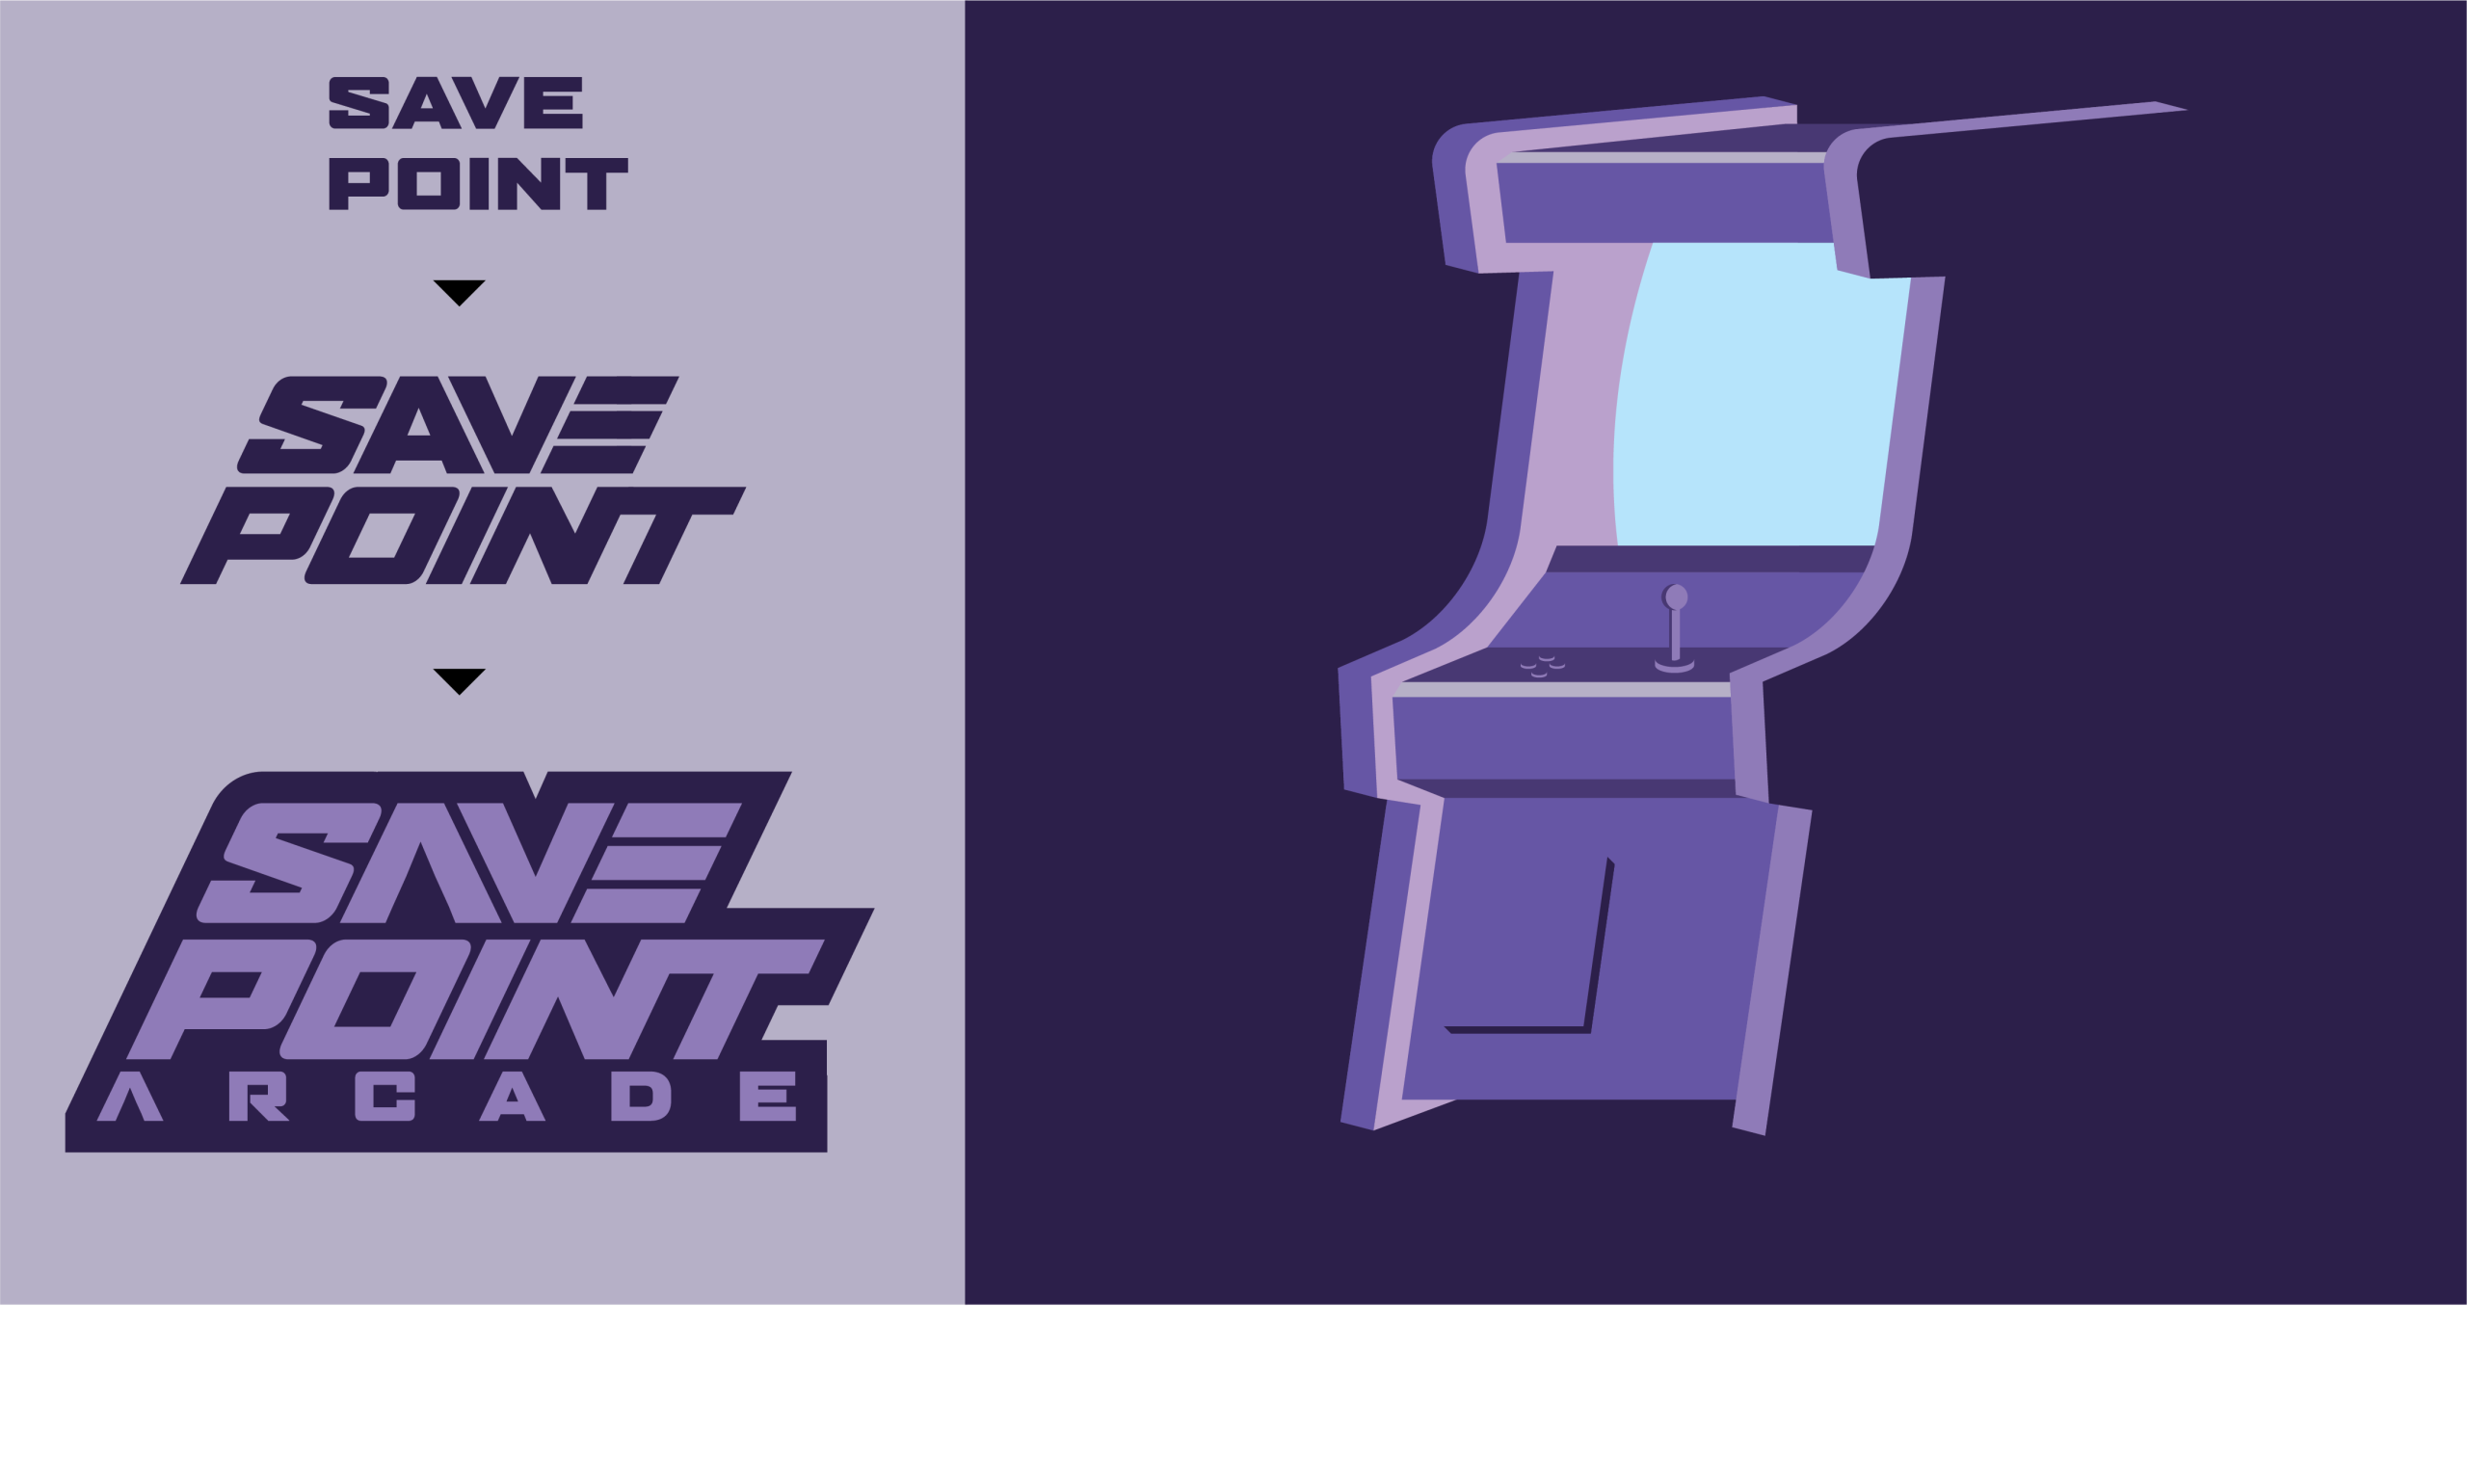
For the moving image project, my chosen venue was a retro-themed arcade, focusing on themes from the 80s and 90s era and taking a lot of inspiration from that era of games and culture. The name of the venue is Save Point Arcade, and it is targeted primarily towards millennials, a 25 to 40 age range, due to the arcade’s retro theme relying on nostalgia of an age group that grew up with arcades. I have tried to capture the retro theme as well as some influences of sci-fi and mainly the prominence of space-themed games within the retro gaming world, such as Space Invaders, Doom and Asteroids. This is heavily reflected within the branding and colour palette, the purple monochromatic colour palette is inspired by the colours which would often be associated with deep space, distant galaxy, futuristic and space tech. The primary logo created has a retro block drop shadow, which would be seen heavily on early retro game logos and felt appropriate to the brand. This is suited with a customer logotype originating from a blocky sans serif modern typeface.
The final 2D web animation starts on an empty canvas with rows of arcade machines, which were created within Illustrator, and comes into the main stage. I have used 3 rows in different layers, along with different sizes to show a clear distinction between the background, midground and foreground. This is paired alongside different colour tones, with the dark shadow machines being behind, and the muted colours of the machines in the foreground help to emphasise the illusion of depth, as well as the speed at which they move. The shot then focuses on the main machine, which zooms in with a red button appearing alongside flashing text. As a part of the interactive animation, this scene plays on loop until the red button is pressed. I have chosen to use the vibrant red button and text within the purple monochromatic frame as it feels familiar with a lot of the arcade buttons being a glossy red, but also to act as a visual indicator to the audience that something is different and that is the button that should be pressed and not the others. The interaction leads onto the third scene, which has a screen powering on(after the button has been pressed), which reveals the logo for the venue, followed by rolling credits which show what the venue offers.
3d Modelling Blender
The 3 models I created that I thought were relevant to my venue, Save Point Arcade, were arcade machines, so I chose to model a traditional arcade cabinet, a claw machine and a retro pinball machine. I had the same initial approach to all 3 models. The first thing I started with was a cube, and the first step was to just get the basic shape of the model that I was creating, and then I could start defining specific faces so that each cube would start to resemble its machine.
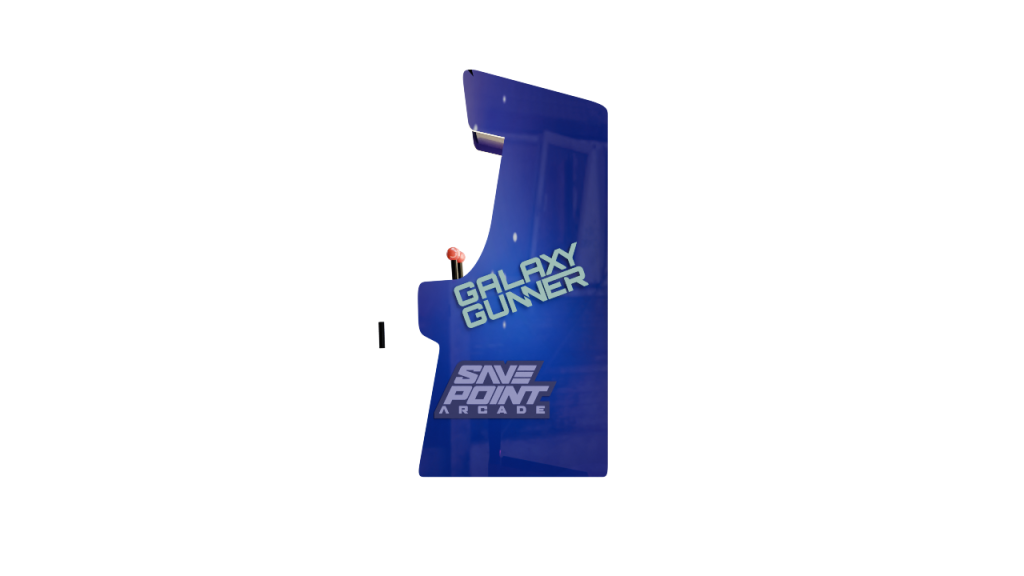
For the traditional arcade cabinet, the main thing to focus on was the side profile, as it had such a unique shape, I referenced my earlier illustration, which was used in my 2D animation and once I hade the side profile created the machine began to take shape, this was done using extruding, splitting and rotating and moving faces so I could reach the end goal. One of the tougher parts of the arcade cabinet was creating a curved screen, which I managed to do by creating multiple subdivisions and using an extrude and bevel to create the curve.
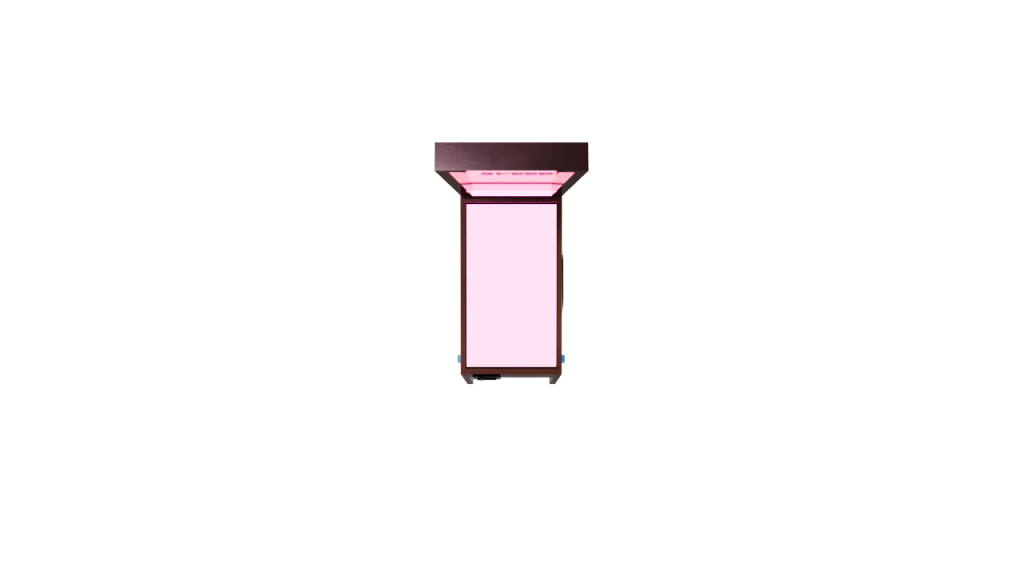
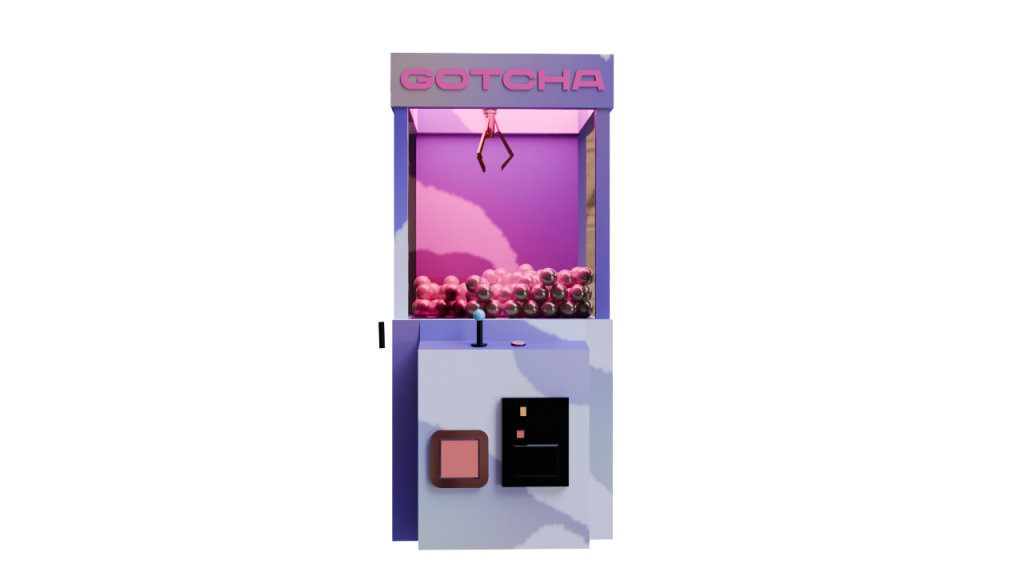
When looking at the claw machine, I found that the shapes were a lot simpler. I started by analysing examples on the web and soon realised that the main body is just a tall rectangle with an additional ledge on the front of the machine for the controls and money slot. These were created with simple extrusions, I created the pillar, which is where the toys are held and used an additional rectangle shaped to the same width and depth to match the main body and used the join tool to make them one solid object. I also extruded the inner top panel to make space for lighting and the claw mechanism.
The Pinball machine was made similarly to the claw machines, where I extruded faces to make the columns(claw machine). I used the same principle to extrude faces to create legs. One of the new techniques used to create this was using booleans, which I used to take out a negative space within the pinball machine where the game would be located, under the glass panel.
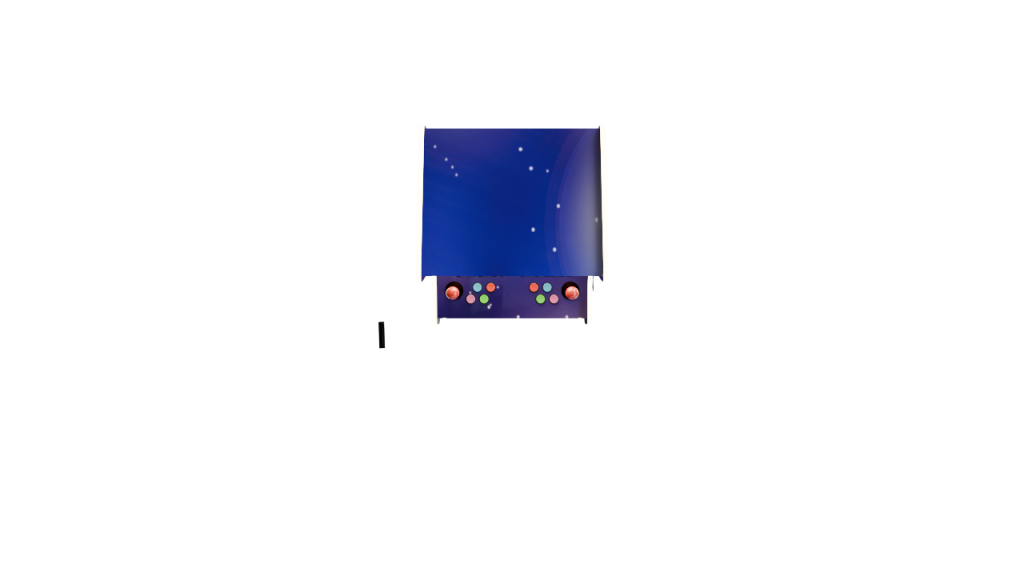
I found that for all 3 models, they started to come together when the smaller details were modelled. I created a series of buttons and joysticks, the buttons were bevelled and rounded so they felt like a real arcade cabinet button. Another one of the finer details I had to focus on was the claw inside the claw machine. I found this difficult initially, but when I broke down the individual shapes used to create the claw, the task became a lot simpler, again just using a basic cube, with the scale and rotation tools the create each arm of the claw, which I then duplicated and arrayed around a cylinder. Another thing that was utilised within the modelling was the ability to duplicate elements. The buttons, joystick, and front panel were common across all 3 models, so I created them once and copied and resized them to fit my needs. Again, the addition of these smaller elements brings each model to life.
3D Texturing & Concept Render
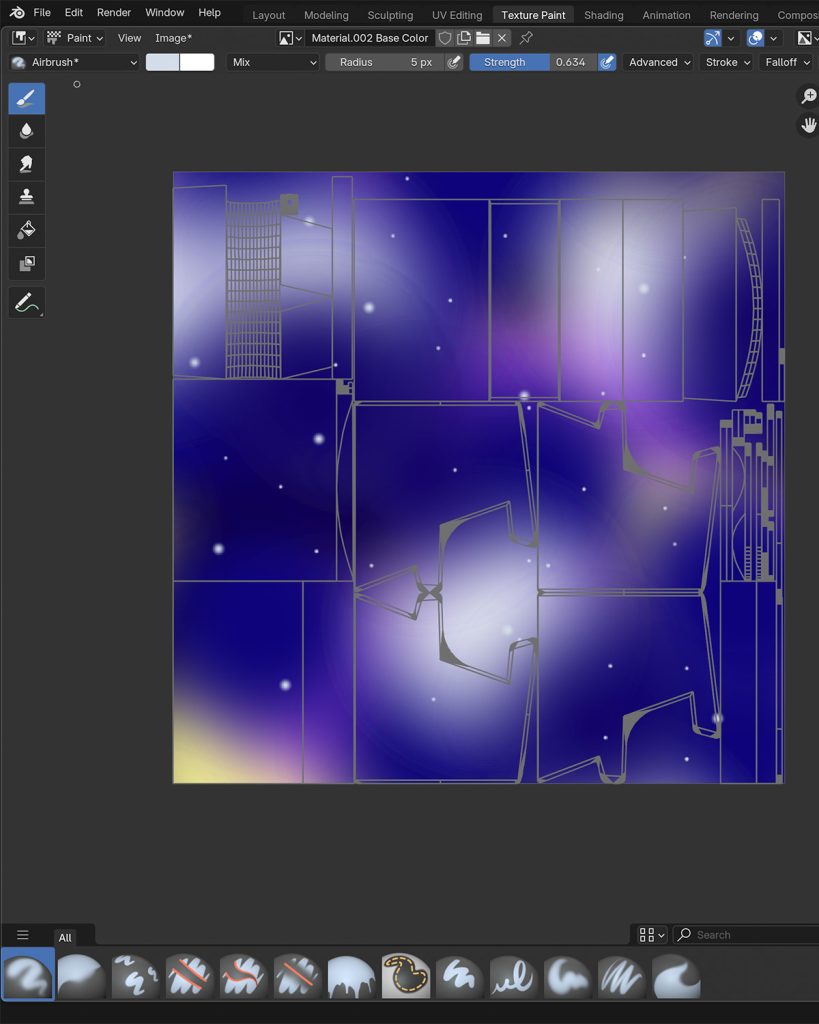
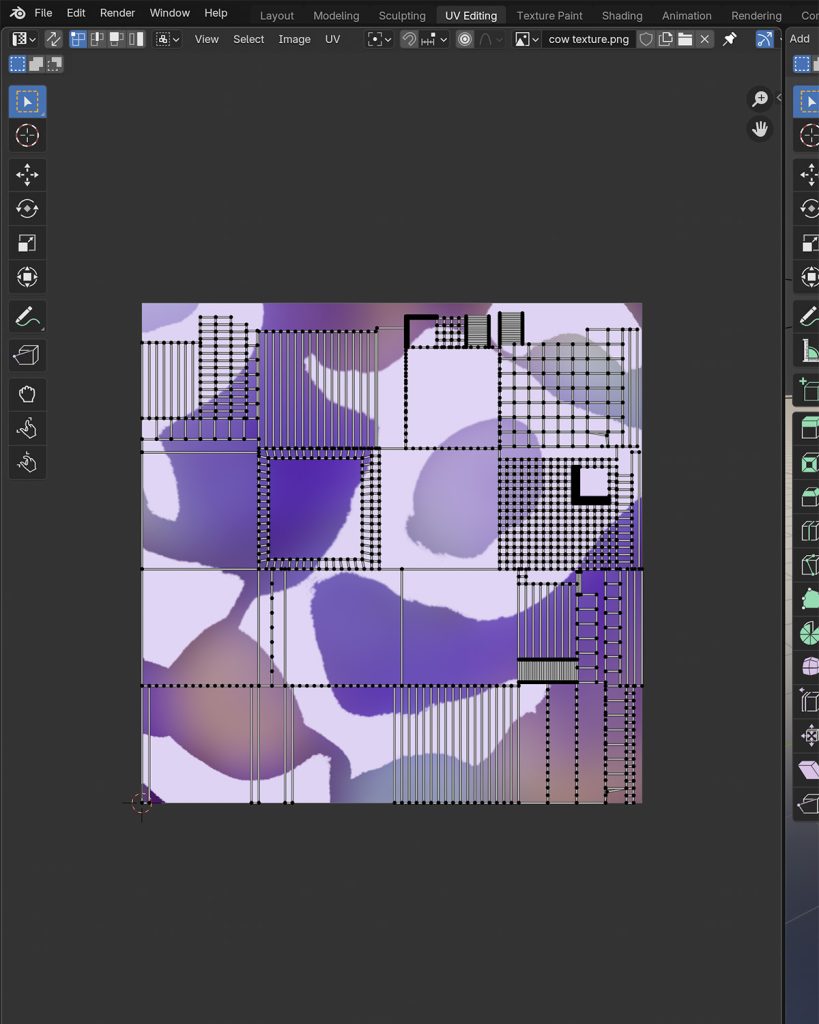
I approached the texture of each machine slightly differently, effectively utilising Blender’s tools for texturing and wrapping models as well as using the materials within Blender. The arcade cabinet was approached by creating a smart UV map and using the texture paint feature within Blender. I used the UV map unwrap as a canvas and started to use the different brushes available within Blender to layer colours, using soft and hard brushes to create a nebula-type texture across the model. I finished off with a smaller brush size to paint stars across the model. For the retro pinball machine, I created a dark red metallic texture to emphasise its sleek design, and I wanted to utilise the materials panel and create my material. The Claw machine was created again by UV unwrapping, but for this texture, I created it in photoshop as a high quality 2048×2048 texture, using Photoshop’s tools to create a gradient cow print type effect, which I exported as a PNG, moving back to Blender I used the UV editing window and uploaded the PNG to wrap my model.
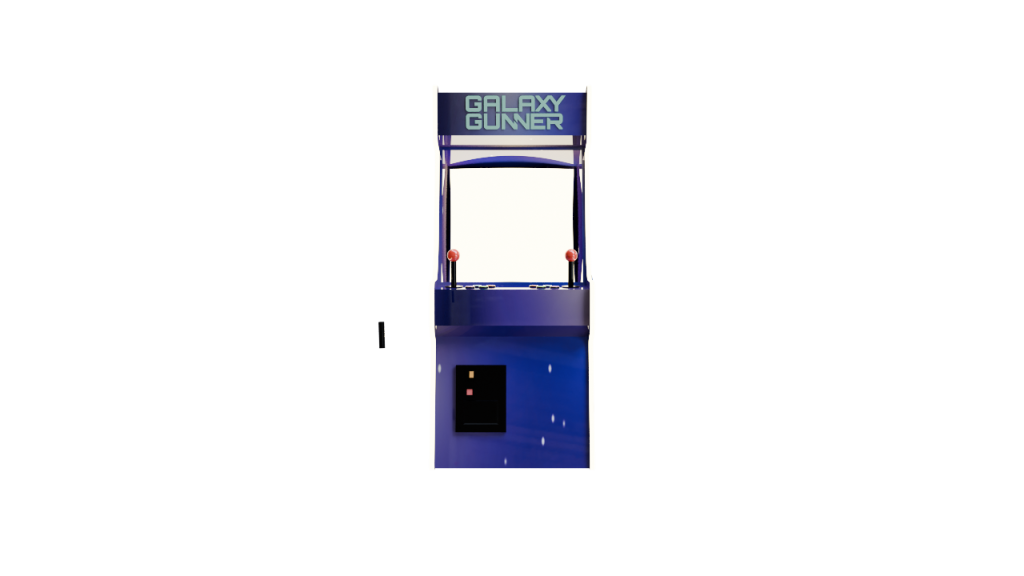
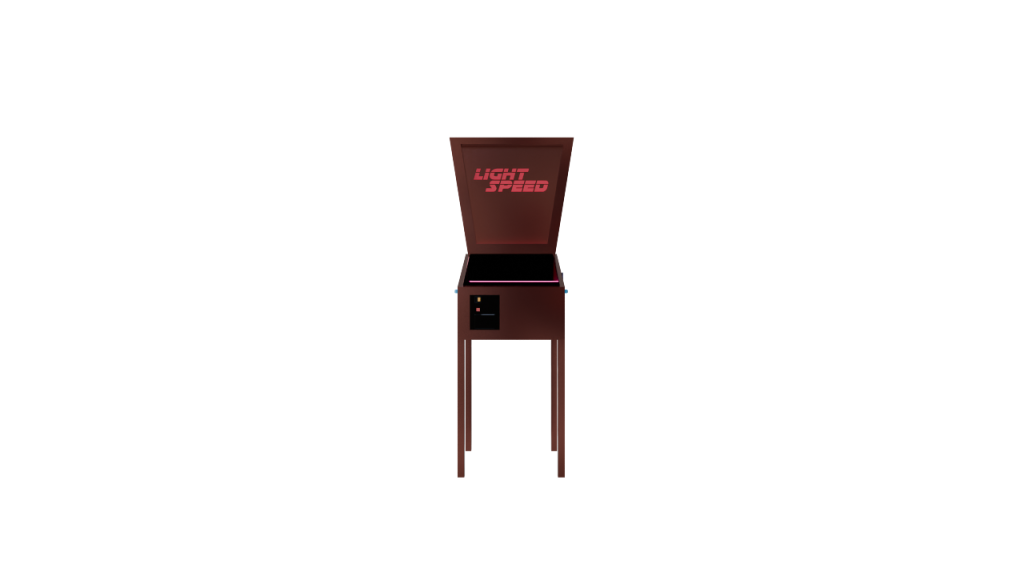
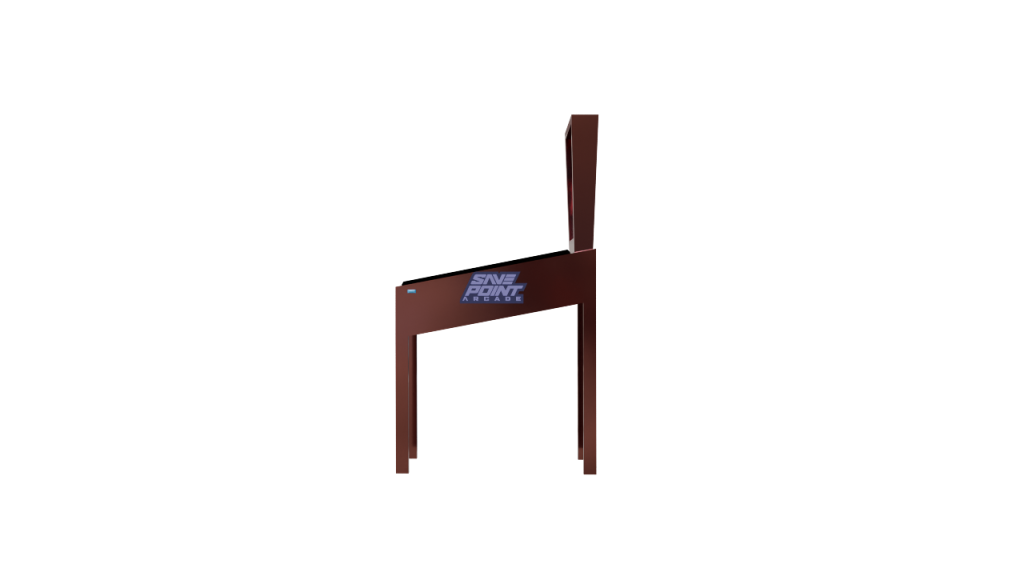

Another thing I chose to add was Logos for each machine that can be seen below, fitting each machine’s theme. I added these using an image as a plan and then shrink-wrapped them to their specific model.

3d Animation and Lighting
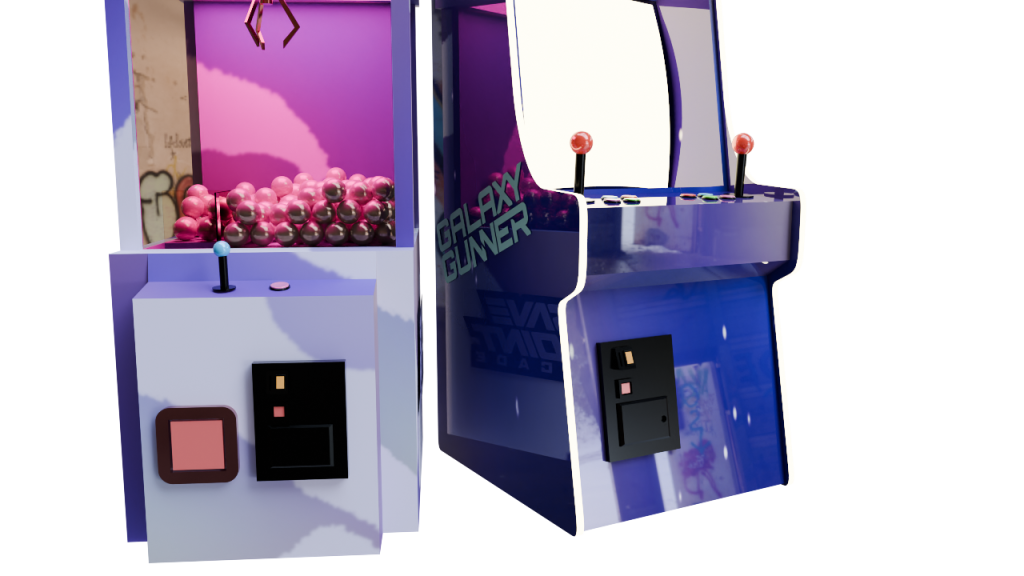
The final animation showcases all 3 of the models in a camera pan which allows all sides of the models to be seen, showing the attention to detail, the uv wraps and the use of reflections, shadows and lighting allowing for a realistic looking effects and a look into how these machine would look in an arcade environment.
For the final animation render I did not use any of the traditional lights within blender, instead I have use emission materials to simulate lights coming off of each machine, the cabinet has a screen light, and neon rims around the edge, the claw has a light within the ceiling, which work well with the balls inside creating interesting shadows and glass reflections; and the pinball machine uses emission textures under the glass to have light shining out these were an effective way to incorporate lighting into the final renders as they mirror how the machine would look in real life. All of these features, paired with a HDRI image to create interesting reflections on the glossy, glass and metallic materials on the models, help to give the viewer a real look into how they would when the colours, logos and lighting are applied, giving the animation a retro, nostalgic feel.
References
HDRI
Wronkowski, G. (n.d.) Abandoned Garage HDRI. Poly Haven. Available at: https://polyhaven.com/a/abandoned_garage(Accessed: 08 May 2025).